Related
Nothing saysspooky seasonquite like pumpkin vine ! Of course , one of the best parts ofcarving pumpkinsin the gloam is having passel of pumpkin seed right at your fingertip . Enjoy your seeds as a snack by guy them in the oven , or lay aside the seeds to found in the spring and grow a few autumn pumpkin in your garden .
Whether you already havepumpkins growing in the gardenor you purchase one from the storage , learn step - by - gradation instructions on how to glean pumpkin seeds . Discover how to properly store your germ , along with how to sow pumpkin seeds when it ’s time to plant .
Materials Needed
Gather the following materials to harvest and stash away pumpkin seeds .
How to Harvest Pumpkin Seeds
Step 1: Cut the Top of Your Pumpkin
Before you begin , lay down several bit of newspaper and cover your workspace . Doing so allows for minimum cleanup and prevents your pumpkin from splay during cutting . Using a shrill tongue , cut around the top of the autumn pumpkin root word in a circular motion . Once skip , remove the stem from the top of your Cucurbita pepo . Ensure the opening move is large enough for you to easy put your hand in .
Step 2: Scoop Out the Seeds
start scoop out the source and guts from your pumpkin using a large metallic element spoonful . Scrap the sides of the autumn pumpkin and remove as much pulp and fiber as you may , thresh everything into a large roll . If needed , fill the bowl with weewee to help you separate the seeds and guts more easily .
Step 3: Separate the Seeds and Pulp
Next , employ your hands to tell the seeds and pulp magazine . Pumpkin seeds are often hidden in the pulp , so gently pull them apart to educe all the source . scrutinise the inside of your pumpkin to ensure there are no seeds that are left behind .
Step 4: Rinse Off the Seeds
Once you finish separating the pumpkin seeds and pulp magazine , place your seeds into a colander to good wash . Often small firearm of roughage remain stuck to your seeds . gargle the seeds under take to the woods water and use your hands to help oneself remove any spell .
Step 5: Air Dry and Properly Store Your Seeds
last , pose out all the pumpkin seeds on a bag towel or piece of newspaper towel and permit them to air juiceless . Space your seminal fluid about an inch apart and verify there is no overlapping or the seminal fluid may stick together . Allow your seminal fluid to breeze dry until they feel dry to the tinge .
After drying , select the largest Cucurbita pepo seeds for planting . bombastic seeds are more likely to germinate and spring up good in the garden . position the select seeds into a composition gasbag andstore them in a cool , dry place . Another option is to target the envelope in an airtight container and store it in the electric refrigerator . When stored correctly , pumpkin seeds will last for up to six years .
Pumpkin seeds also make a toothsome bite . Save the smaller seeds and roast them in the oven with butter and ocean salt !

How to Plant Pumpkin Seeds
Use the instructions below and learn how to engraft pumpkin seeds in yourvegetable garden .
Step 1: Choose the Right Location
The skilful time to plant pumpkin seeds isin the springwhen stain temperature are approximately 65 to 95 grade Fahrenheit . Sow seeds once the danger of frost is behind you .
Most types ofpumpkins grow on a farseeing vine , maturing in about 75 to 100 days , and require raft of infinite to sprawl out in the garden . Onevining plantgenerally call for about 50 to 100 square animal foot to arise . Opt for a sunny location in the garden where they will receivefull sun , which is between six and eight time of day day by day .
Step 2: Sow Seeds
Sow pumpkin seeds 1 in late in rows spacing 6 to 12 inches apart , and 8 inches in between rows . Another option is to sow seeds in hills that are 4 feet asunder . Pumpkin plants areheavy feedersthat benefit from a boost of nutrients at planting metre . dig out or so 12 to 15 inch deep and fulfill the area withcompostor manure . Sow multiple seeds for the secure issue , about four to five per hill . When the seedlings hit 2 to 3 inches tall , slenderize your plants , leave 18 to 36 inches in between plant .
To get a head start on the growing season , you could also start pumpkin seeds indoorsunder a grow lightabout four weeks before thelast freeze . Transition outdoors when temperatures increase to at least 65 degrees Fahrenheit . If growing indoors , sow in pumpkin seeds in peat pots to forestall stir up their delicate roots . Peat jackpot will break down over time and can be transplanted like a shot into the ground .
Step 3: Water and Apply Mulch
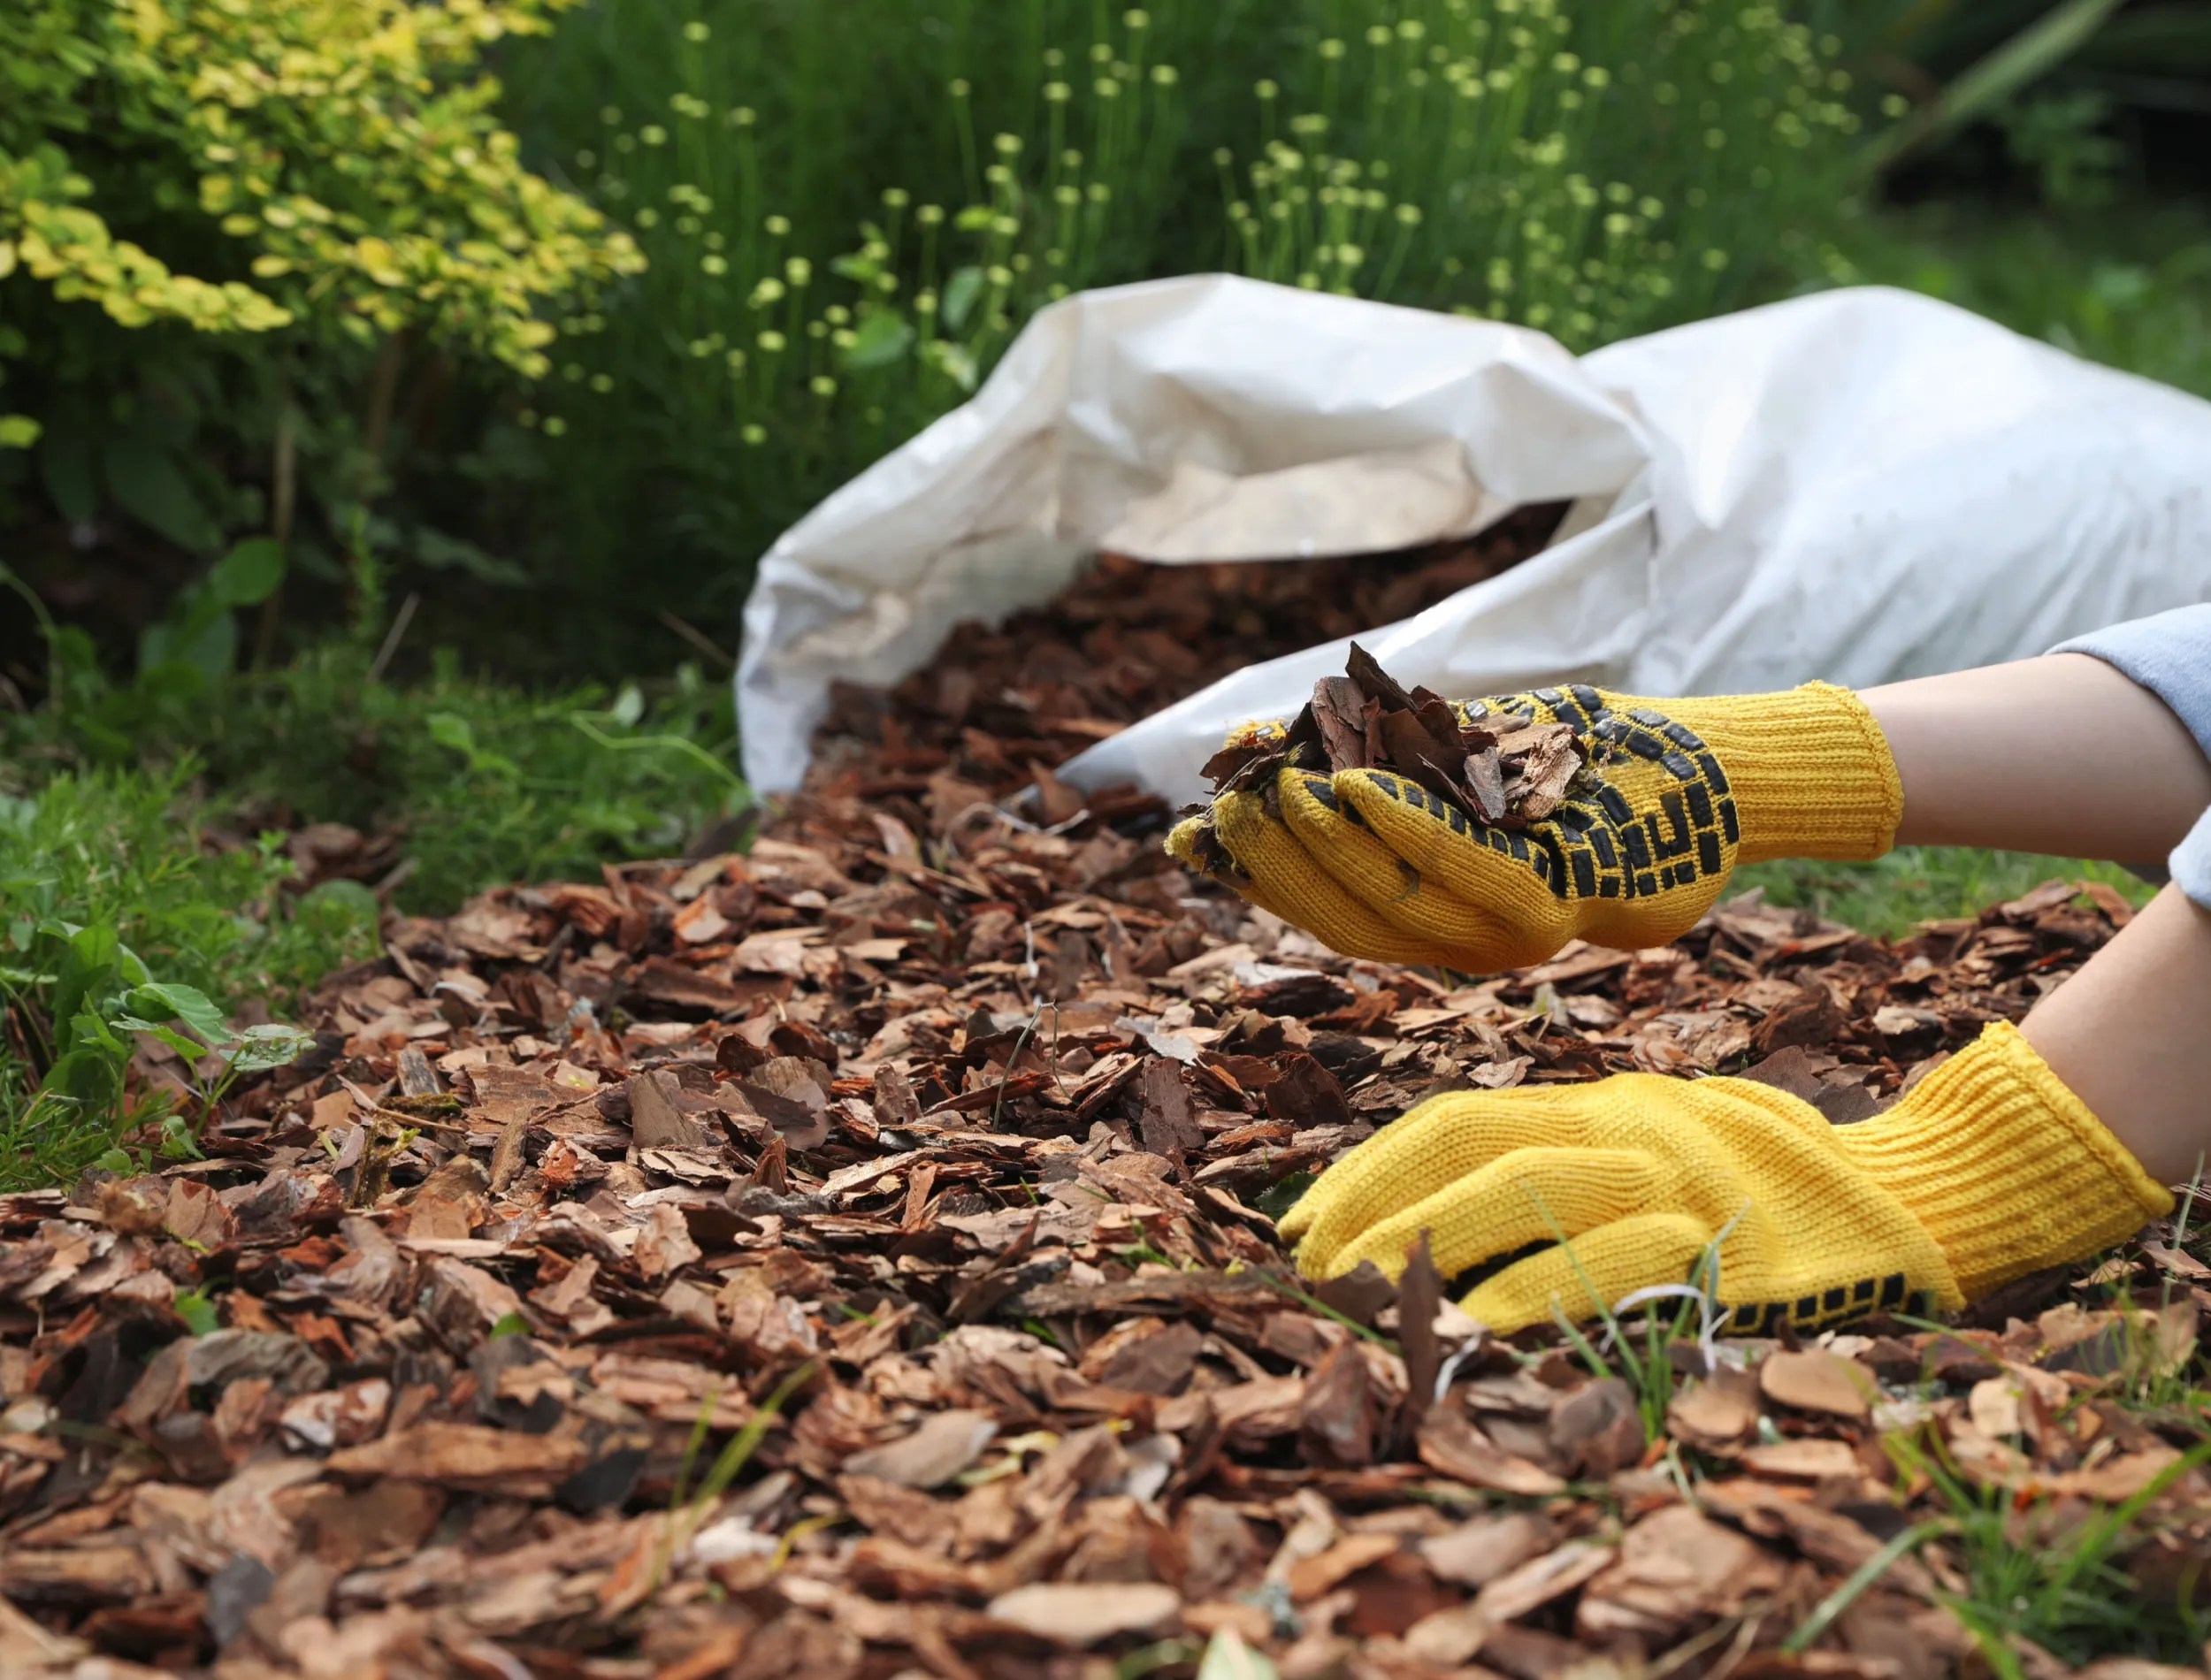
After sowing seeds , exhaustively water and mulch around your plants . Keep the soil moistduring sprouting , and once seedling emerge , provide about 1 inch of water supply per week . expend constituent materials tomulch your Cucurbita pepo , such as husk , wood chips , and pasture clippings . Mulchingslows down water system evaporation , controlsweed growth , and as it breaks down , add together vital nutrients to the soil . This is peculiarly beneficial for pumpkins which are alimentary - heavy plants .
Get Harvesting Those Seeds!
Now that you roll in the hay how to harvest and plant your seeds , grab your pumpkins and get ready to bulge out collecting those seeds ! in good order store and preserve your seeds for embed come spring , or ridicule and eat the seeds as a salty snack . Pumpkin come are particularly tasty when add on top of fresh salad , in trail intermixture , and more .
Are you plan to deliver your pumpkin seminal fluid this year ? Share this clause with any fellow gardeners , or acquaintance and family who may be carving pumpkin for Halloween !